Connect Brave to the Rootstock (RSK) Network - RNS User guide
Locate Brave's Wallet
The wallet in the Brave browser is not as prominent as it is with Chrome or Firefox Metamask plugins. The wallet is located under the Main Menu / Crypto Wallet:
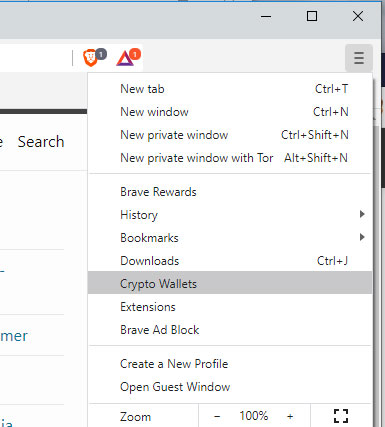
If this is the first time you have set up Brave it will ask you to create a wallet. This article assumes that you already have a wallet. Since the wallet is hidden under the main menu, It is advised to bookmark the URL, and place it on the bookmark row. To do this, on Windows press [CTRL]+[D] or on Mac, [Apple]+[D].
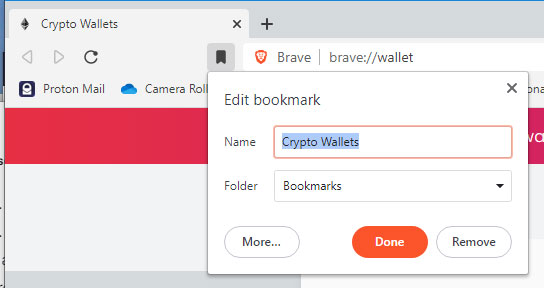
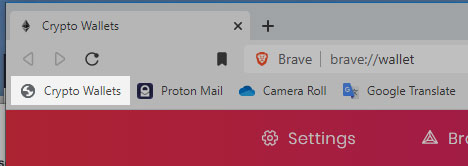
This should place Wallets on the bookmark bar for easy access. This will make it easier to switch between different networks and accounts.
Connect to the Rootstock (RSK) Mainnet and Testnet
On the wallet screen, towards the right, it should show that it is connected to the Main Ethereum Network. If you toggle the dropdown, towards the bottom there is an option to connect to a "Custom RPC". See the image below;
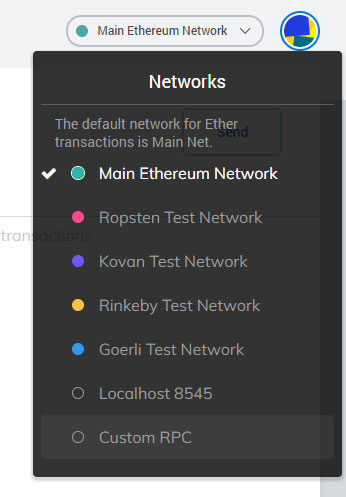
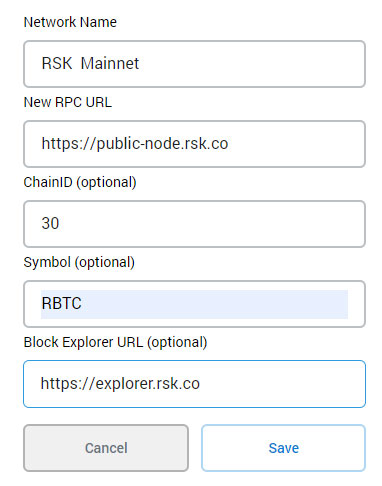
The New Network tab will open and ask some questions about the network. For RSK Mainnet, use the following settings:
| Input Field | RSK Mainnet Value | RSK Testnet Value |
|---|---|---|
| Network Name | RSK Mainnet | RSK Testnet |
| New RPC Url | https://public-node.rsk.co | https://public-node.testnet.rsk.co |
| Chain Id | 30 | 31 |
| Symbol | RBTC | RBTC |
| Block Explorer URL | https://explorer.rsk.co | https://explorer.testnet.rsk.co/ |
Example:
Hit Save and close settings.
Getting your Rootstock (RSK) account address
If you closed out of the wallet, navigate back to your Crypto Wallets by using the bookmark you set. Under "Account 1" you will see your address and a copy button. Copy your address to the clipboard.
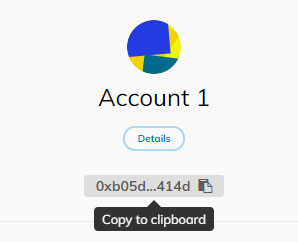
This is the address that you will use in the next step of getting RBTC.
Add the RIF token
Next, we need to add the RIF token which is used in the Rootstock (RSK) network. While connected to the Rootstock (RSK) Mainnet, on the Accounts page, towards the bottom there is a heading "Don't see your Tokens?" and a link to "Add Token":
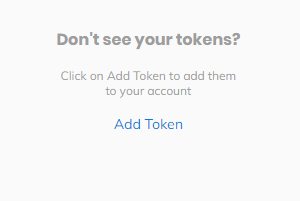
Click the Add Token link and then click on the "Custom Token" tab. In the first field, Token Contract Address put the RIF Token Address:
| Network | RIF Contract Address |
|---|---|
| RSK Mainnet | 0x2acc95758f8b5f583470ba265eb685a8f45fc9d5 |
| RSK Testnet | 0x19f64674d8a5b4e652319f5e239efd3bc969a1fe |
When you press tab, or move to the next field, Token Symbol and Decimals of Precision will autofill with the token's information:
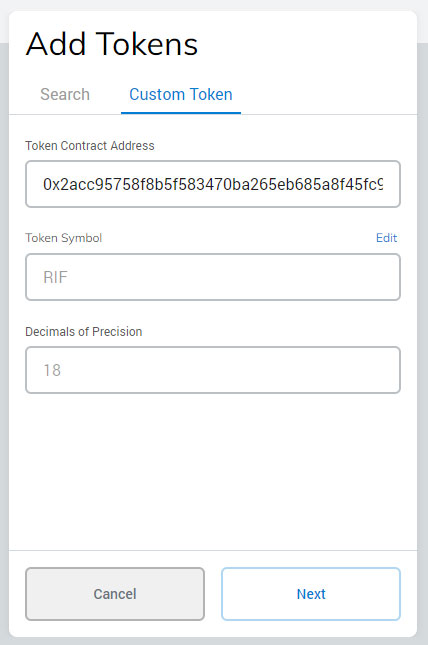
Click "Next" and then "Add Tokens".
You can repeat these steps for the Rootstock (RSK) Testnet.
Contact us on the Rootstock community discord | Github | Register Domain